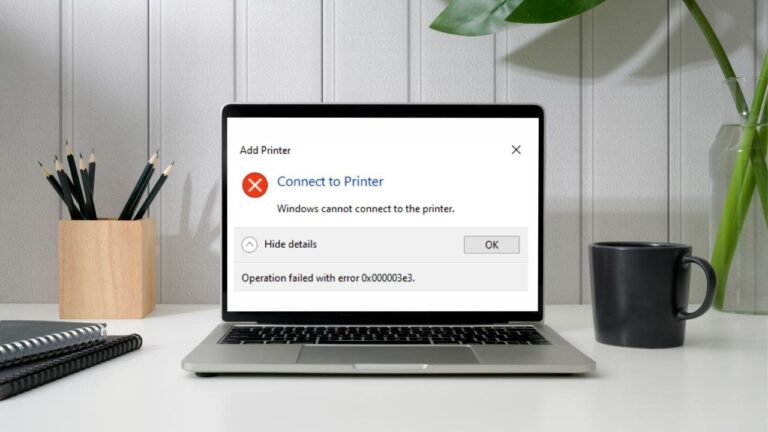

Have you ever tried printing an important document, only to get a “Paper Size Mismatch” error? It can be frustrating, but don’t worry. This guide will explain why this happens and how to fix it quickly.
Why Does the Paper Size Mismatch Error Happen?
This error occurs when the paper size selected in your printer settings does not match the paper loaded in the tray. For example, if you set your printer to use “Letter” size paper but have “A4” paper in the tray, the printer will stop and display an error.
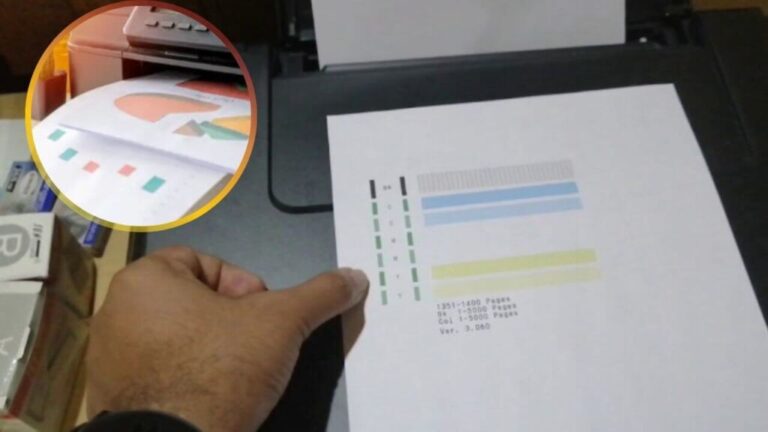
Using the wrong paper size can cause misaligned, cut-off, or blurry prints. If you use the wrong paper type, such as glossy instead of plain, ink may not dry properly and can smudge.
Common Causes and Solutions for Paper Mismatch Errors
1. Incorrect Printer Settings
If the paper size in your print settings does not match the paper in the tray, follow these steps to fix it:
On Windows:
- Click the Start button, type Control Panel, and open it.
- Select Devices and Printers.
- Right-click your printer icon and choose Printing Preferences.
- Go to the Paper/Quality tab and check the paper size setting.
- If needed, change the paper size to match the paper in the tray.
- Click Apply or OK to save the changes.
- Print a test page to confirm the fix.
Not sure if this applies to your model? We might have more info based on your setup.
On Mac:
- Click the Apple menu and select System Preferences.
- Click Printers & Scanners.
- Select your printer from the list.
- Click Printer in the menu bar and check the paper size settings.
- If needed, adjust the settings to match the paper in the tray.
- Click OK or Save.
- Print a test page to confirm everything is set correctly.
2. Misaligned Paper in the Tray
If the paper is not loaded correctly, the printer may not detect the right size. To fix this:
- Pull out the paper tray.
- Remove and neatly stack the paper.
- Adjust the paper guides to fit snugly against the edges of the paper.
- Reload the paper and push the tray back in.
- Print a test page to check if the issue is resolved.
3. Paper Mismatch Error Even When the Tray is Full
Sometimes, the printer doesn’t detect paper properly, even if the tray is full. This could be due to paper that is too thick, bent, or damaged. To fix this:
- Remove the paper tray.
- Check for damaged or curled sheets and replace them if necessary.
- Use the correct paper thickness recommended by the printer manufacturer.
- Reload the paper and ensure it is aligned properly.
- Try printing again.
4. Sensor Issues
If your printer’s sensors are dirty or malfunctioning, they may not detect the paper correctly. To clean them:
- Turn off the printer.
- Open the paper tray and locate the sensors.
- Use a soft, dry cloth to gently clean them.
- Close the printer and turn it back on.
- Print a test page to see if the problem is fixed.
Tips to Prevent Paper Mismatch Errors
- Always check that the paper size in the printer settings matches the paper in the tray.
- Align the paper properly and adjust the guides to fit snugly.
- Inspect paper for tears, bends, or curling before loading it.
- Keep the printer clean, especially the sensors.
- Set the printer’s default paper size to match the type you use most often.
- Use paper recommended by the printer manufacturer.
Final Thoughts
If your printer shows a “Paper Size Mismatch” error, follow this guide to troubleshoot and fix the issue. By using the right paper, adjusting your settings, and keeping your printer clean, you can prevent this problem from happening again
Note: Still Stuck? It might depend on the specific printer model you're using.