Tired of dealing with cables when printing from your iPhone? Wireless printing makes it easy to print without any hassle. If you’re not sure how to connect your iPhone to a printer in wireless mode, don’t worry! This guide will show you simple steps to print documents and photos straight from your iPhone.
Benefits of Wireless Printing
Wireless printing saves time and keeps your workspace neat. Here are some advantages:
- Print from your iPhone without using a computer.
- No messy cables.
- Print from anywhere at home or in the office.
- Multiple people can use the same printer.
- Easy setup with just a few steps.
- Change printer settings from your phone.
What You Need To Print Wirelessly
Before getting started, make sure you have:
- An iPhone – Your iPhone must support AirPrint (most modern iPhones do).
- A Compatible Printer – Your printer should support AirPrint or have its own app for wireless printing.
- Wi-Fi Network – Your iPhone and printer should be connected to the same Wi-Fi.
- Something To Print – Have a document, photo, or email ready.
How To Connect iPhone To Printer Wirelessly
Not sure if this applies to your model? We might have more info based on your setup.
You can print from an iPhone using three simple methods:
Method 1: Print Using AirPrint
AirPrint is Apple’s built-in feature for wireless printing. Follow these steps:
- Open the File – Choose the photo or document you want to print.
- Tap the Share Icon – Look for a square with an arrow pointing up.
- Select “Print” – Scroll through the options and tap “Print.”
- Choose Your Printer – Your iPhone will find available printers. Select yours.
- Adjust Print Settings – Change options like copies or page size if needed.
- Tap “Print” – Your document will be sent to the printer.
Method 2: Use The Printer’s App
If your printer doesn’t support AirPrint, use its official app.
- Download The Printer App – Go to the App Store and install the app for your printer (e.g., HP Smart, Canon Print).
- Open The App – Launch the app and follow setup instructions.
- Connect To Your Printer – Make sure your printer is on and connected to Wi-Fi.
- Select What To Print – Choose a document or photo from the app.
- Adjust Print Settings – Set paper size, quality, or number of copies.
- Tap Print – Start printing!
Method 3: Connect Using Wi-Fi Direct
Wi-Fi Direct lets you print without a Wi-Fi network.
- Turn On The Printer – Make sure it’s powered on.
- Enable Wi-Fi Direct – Check your printer’s manual to turn this feature on.
- Connect Your iPhone – Go to Settings > Wi-Fi and select the printer’s Wi-Fi name.
- Open Your File – Choose the document or photo you want to print.
- Tap Share > Print – Select your printer and adjust settings if needed.
- Print & Disconnect – After printing, reconnect to your usual Wi-Fi.
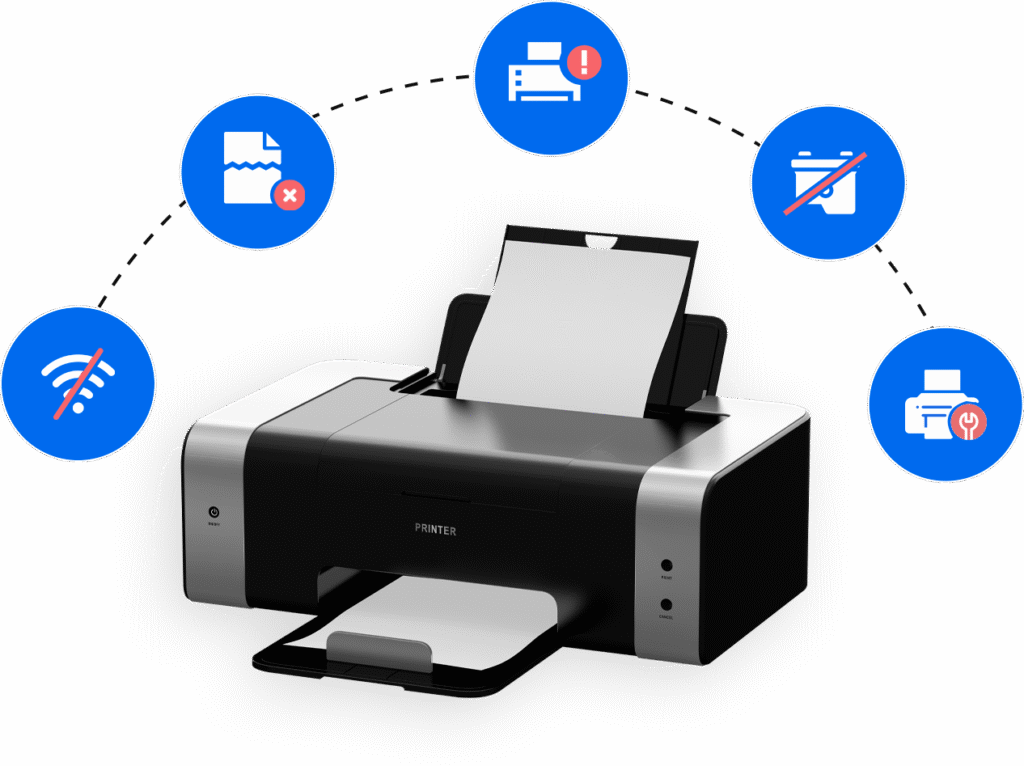
Troubleshooting Common Issues
If you have trouble connecting your iPhone to a printer, try these fixes:
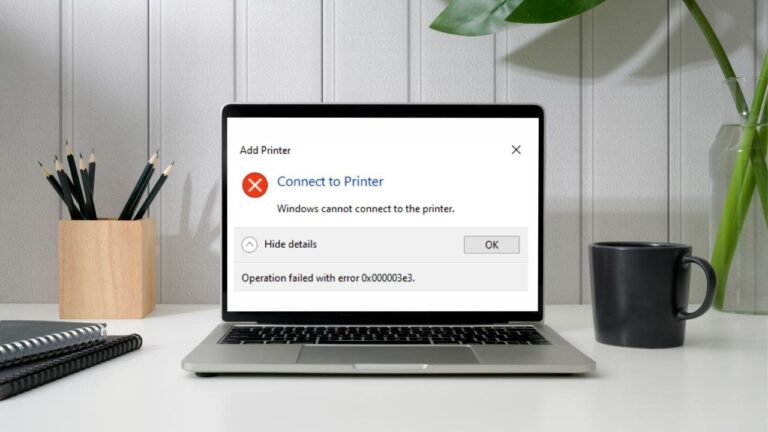
1. Printer Not Found
- Make sure your iPhone and printer are on the same Wi-Fi.
- Turn Airplane Mode off.
- Restart your iPhone and printer.
- Move the printer closer to your Wi-Fi router.
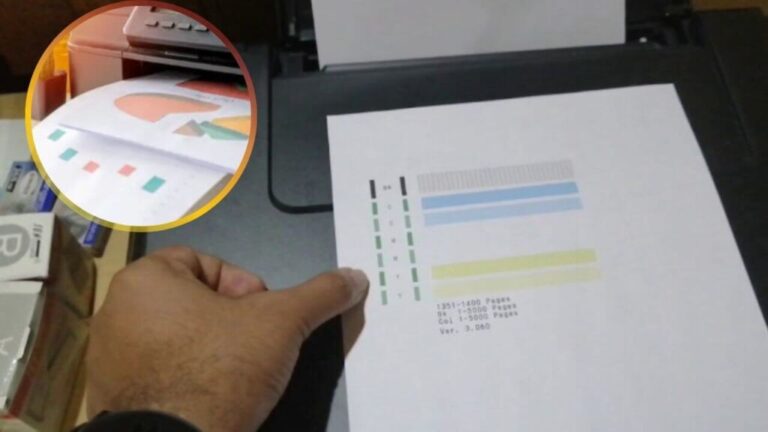
2. Slow Printing
- Place the printer closer to the router for a stronger connection.
- Reduce file size for faster printing.
- Clean the printer’s printhead if needed.
3. Printer Software Outdated
Update your printer’s firmware by checking the manufacturer’s website.
Final Thoughts
Now you know how to connect your iPhone to a printer wirelessly! Whether using AirPrint, a printer app, or Wi-Fi Direct, you can print easily without cables. Just follow the steps in this guide and enjoy hassle-free printing from your iPhone!
Note: Still Stuck? It might depend on the specific printer model you're using.