A printer is a smart device that takes text and images from your computer and prints them onto paper. To print something, you need to connect the printer to the device you want to print from.
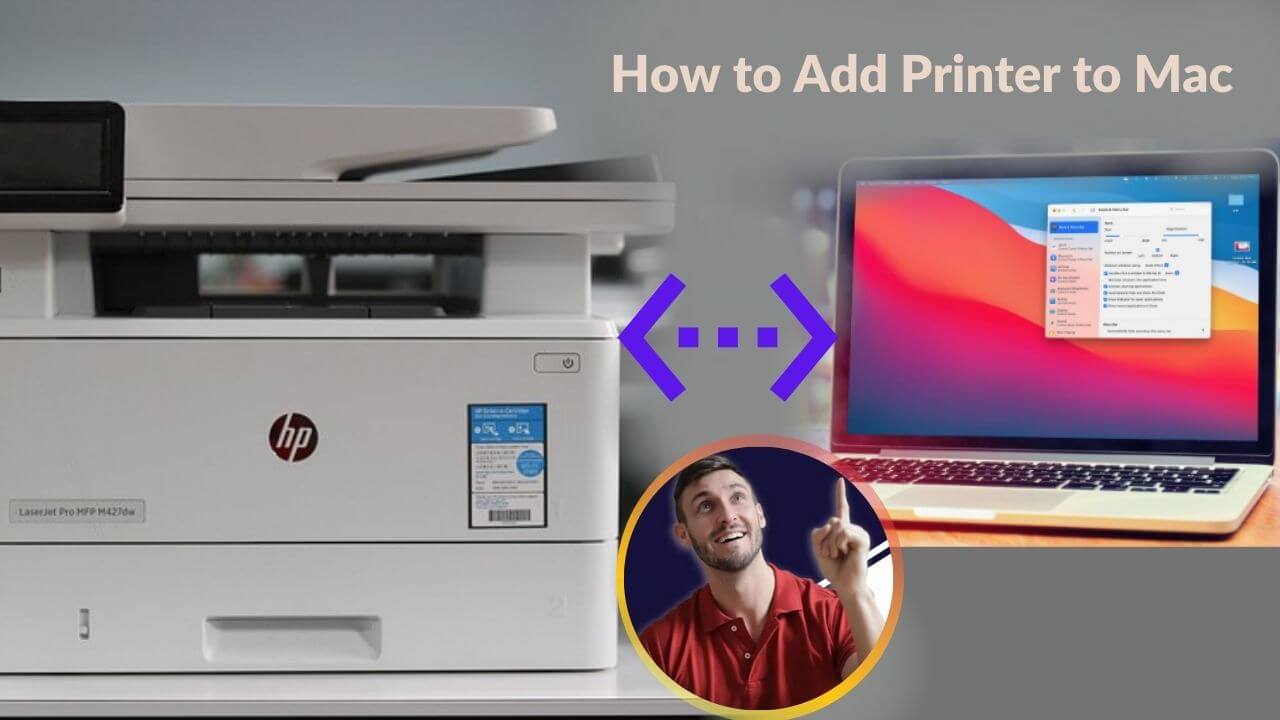
If you’ve recently bought a Mac and want to add a printer, you’re in the right place! Here’s a simple guide on how to add a printer to your Mac.
Adding a printer to WiFi is easy and doesn’t take much time. However, some people may not know how to do it. If that’s the case for you, just follow the steps below to add your printer to your Mac.
Steps to Add Printer to Mac via WiFi
If you have a wireless printer and want to connect it to your Mac through WiFi, follow these steps:
-
On your printer, press the WiFi button, and also press the WPS button on your router.
-
If that doesn’t work, make sure both the printer and Mac are on the same WiFi network.
-
Open System Preferences on your Mac, then go to Printers & Scanners.
-
Click the plus sign to add your printer, and choose your printer from the list.
-
If you see AirPrint next to the “Use” field, that means your printer supports AirPrint and you can’t add it manually.
-
If your printer doesn’t support AirPrint, select it and click Add. Then, download the necessary printer driver from the server.
Steps to Add Printer to Mac via WPS
To connect a printer via WPS:
-
On the top-left corner, click the Apple icon and go to System Preferences.
-
Click Printers & Scanners and click the plus sign.
-
From the list, choose your printer, then select the printer driver in the Use field.
-
Click Add, and the printer will be added to the list.
-
You should now see the printer listed in the Printers & Scanners window.
How to Add Printer to Mac via USB Cable
If your printer doesn’t have WiFi capabilities, you can connect it using a USB cable:
-
Plug the printer into your Mac using the USB cable.
-
Open System Preferences and go to Printers & Scanners.
-
Click the plus sign below the list of printers.
-
Choose your printer from the list. Your Mac will automatically detect printers on the network.
-
Look for a printer with “USB” listed in the Kind column.
-
Click Add, and the printer will be added to the list.
Methods to Add Printer to Mac via IP Address
If you can’t see your printer in the list, you can add it using its IP address:
-
Click the Apple icon and go to System Preferences.
-
Click Printers & Scanners and click the plus sign.
-
Click the IP icon (it looks like a blue globe).
-
Enter the printer’s IP address in the address field.
-
Your Mac will gather information about your printer. Rename it if needed.
-
In the Use field, select the printer driver, and click Add.
Steps to Add Bluetooth Printer to Mac
If your printer supports Bluetooth, you can connect it wirelessly:
-
Make sure your Mac is updated to the latest macOS version by going to System Preferences and clicking Software Update.
-
Turn on your printer and open System Preferences.
-
Go to Printers & Scanners, and click the plus sign.
-
Choose your printer from the list and click Add.
-
When you want to print, click the Bluetooth icon on your Mac, then go to Bluetooth Preferences to pair your printer.
How to Print Wirelessly from Mac
Once your printer is set up, your Mac will automatically recognize it when turned on. To print from your Mac:
-
In your document, click File and then Print, or press Command + P.
-
A window will pop up. Here you can adjust settings like the number of copies, color, and format.
-
Click Print, and your document will be sent to the printer.
How to Remove an Unused Printer from Mac
If you no longer use a printer, it’s a good idea to remove it from your Mac to avoid any confusion:
-
Open System Preferences on your Mac.
-
Go to Printers & Scanners.
-
Find the printer you want to remove, click on it, and click the minus sign to delete it.
How to Clear Old Printer Traces
If you want to remove any leftover files from old printers:
-
Open CleanMyMac X and go to Cleanup.
-
Select System Junk and click Scan.
-
After scanning, click Clean to remove unnecessary files.
FAQs
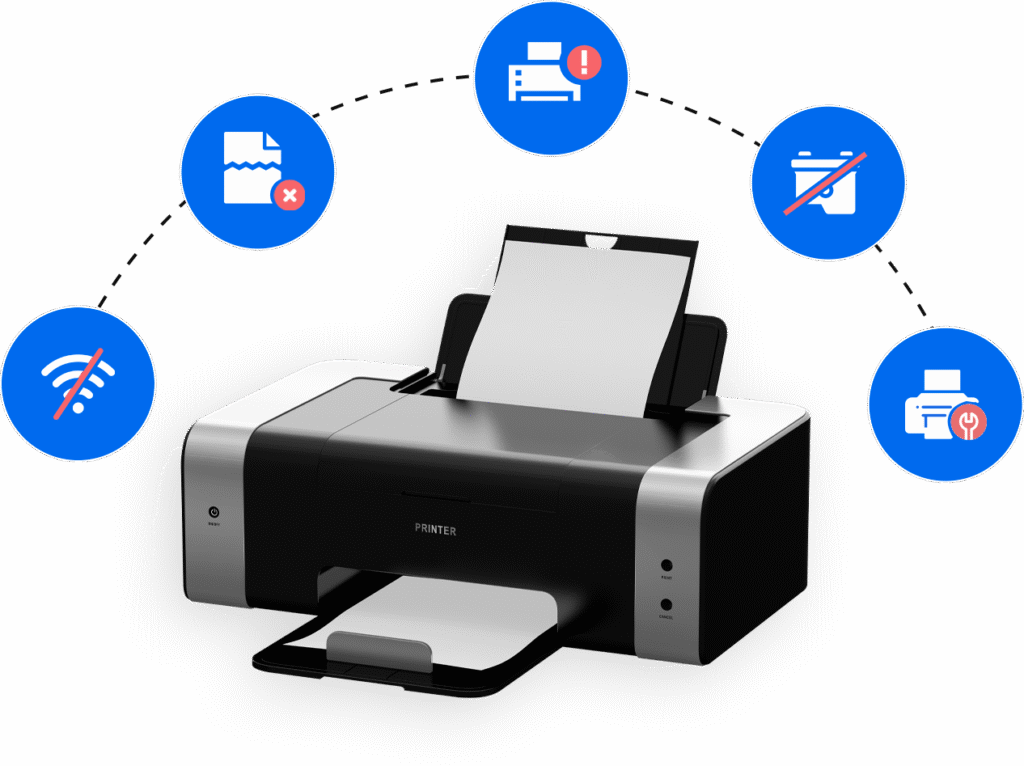
Q1. Why can’t I add my printer to Mac?
If your printer isn’t showing up, it might be turned off, or your Mac may be on a different network.
Q2. How can I get my printer online?
If your printer shows offline, try these steps:
-
Restart your Mac.
-
Power cycle your printer.
-
Delete any print jobs in the queue.
-
Reinstall the printer or reset the printing system.
Q3. How do I print from my Mac?
Open your document, then click File and Print, or press Command + P. Select your printer and click Print.
Q4. How can I add a printer manually?
To add a printer manually, go to the Start menu, select Devices and Printers, click Add a Printer, and follow the on-screen instructions.
Q5. How can I see the installed printers on my Mac?
Click the Apple menu, go to System Preferences, and click Printers & Scanners. Here, you can see the details of your installed printers.
Conclusion
Adding a printer to your Mac can be easy if you follow the right steps. Hopefully, this guide has made it clear how to connect and manage your printer.
Note: Still Stuck? It might depend on the specific printer model you're using.