Do you want to print from your Chromebook but don’t know how? Don’t worry! Connecting a printer to a Chromebook is simple. Follow this step-by-step guide to set up your printer quickly and start printing without hassle.
What is a Chromebook?
A Chromebook is a type of laptop that runs on Chrome OS, made by Google. It’s different from regular Windows or Mac computers.
What Makes Chromebooks Special?
- Affordable: Cheaper than most regular laptops.
- Fast: Starts quickly and works well for browsing and simple tasks.
- Automatic Updates: Always stays updated for security and new features.
- Long Battery Life: Can last hours on a single charge.
- Easy to Use: Great for beginners and students.
- Cloud Storage: Saves your files online with Google Drive.
- Secure: Built-in virus protection.
What You Need to Connect a Printer to Chromebook
Before setting up your printer, make sure you have:
✔ A Chromebook that works properly.
✔ A Printer that supports Wi-Fi or USB connection.
✔ A Wi-Fi Network for wireless printing (both devices must be on the same network).
✔ Your Printer Manual for instructions on setup.
How to Add a Printer to Chromebook (Step by Step)
Step 1: Turn On Your Printer
Make sure your printer is powered on and ready to connect.
Step 2: Connect Your Printer to Chromebook
Depending on your printer type, choose one of these methods:
A. Connect with a USB Cable
- Plug the USB cable from your printer into your Chromebook.
- Your Chromebook should detect the printer automatically.
- If not, go to Settings > Printers > Add Printer and select your printer.
Not sure if this applies to your model? We might have more info based on your setup.
B. Connect via Wi-Fi
- Make sure your printer and Chromebook are connected to the same Wi-Fi network.
- Open Chromebook Settings (click the clock at the bottom-right, then the gear icon).
- Under “Devices,” select “Printers.”
- Click “Add Printer” and follow the on-screen steps to complete the setup.
C. Connect a Cloud-Ready Printer
- Open Settings on your Chromebook.
- Go to “Devices” > “Printers.”
- Click “Add Printer” and choose your printer from the list.
D. Connect an Older Printer (Without Wi-Fi or Cloud Print)
- Use a computer (Windows or Mac) that is connected to the printer.
- Open Google Chrome on that computer.
- Go to Chrome Settings > Google Cloud Print > Manage Cloud Print devices.
- Add your printer to Google Cloud Print.
- On your Chromebook, go to chrome://devices in the browser.
- Select your printer and click “Add.” Now, your Chromebook can print using that printer.
Step 3: Print a Test Page
- Open a document or picture on your Chromebook.
- Click File > Print or press Ctrl + P.
- Select your printer and click Print to test.
Step 4: Adjust Printer Settings (If Needed)
- Click “Change” next to the printer name before printing.
- You can set paper size, print quality, and color options.
Troubleshooting Common Issues
If your printer isn’t working, try these fixes:
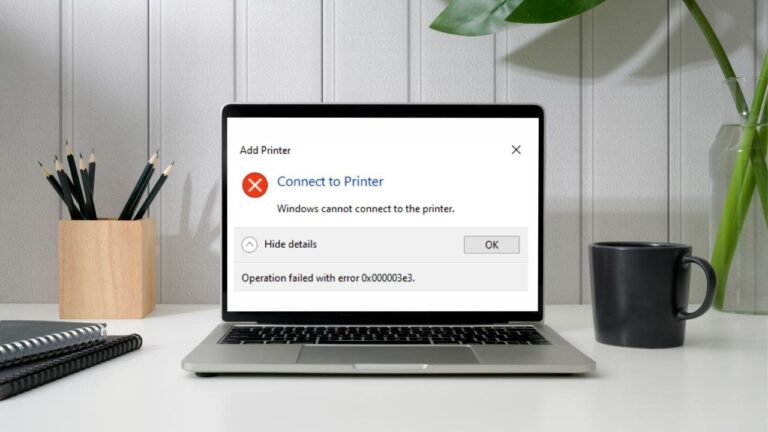
1. Printer Not Found on Chromebook
✔ Restart both your printer and Chromebook.
✔ Check Wi-Fi: Ensure both devices are on the same network.
✔ Add the printer manually: Go to Settings > Advanced > Printing > Add Printer and try again.
✔ Still not working? Contact a tech expert for help.
2. Printer Not Compatible with Chromebook
✔ Check if your printer supports Chromebooks (look at the printer manual or manufacturer’s website).
✔ Try using a USB cable if wireless doesn’t work.
✔ If your printer isn’t compatible, consider buying a new Chromebook-friendly printer.
3. Update Printer and Chromebook Software
Old software can cause printing issues. Make sure both your Chromebook and printer have the latest updates.
How to Update Chromebook Software
- Go to Settings > About Chrome OS.
- Click “Check for updates.”
- Install any available updates and restart your Chromebook.
4. Cloud Print Not Working?
✔ Check Internet Connection – Ensure your Wi-Fi is stable.
✔ Log in to Google Account – Make sure you’re signed in.
✔ Sync Google Drive – Turn it on in Settings > Google Drive.
✔ Clear Browsing Data – Delete cached images and cookies from Chrome settings.
✔ Update Your Chromebook – Always use the latest software.
How to Print from a Chromebook Using a Mobile Device
Want to print from your phone or tablet? Here’s how:
Step 1: Set Up Google Cloud Print on Chromebook
- Click the clock in the bottom-right and go to Settings.
- Scroll to “Advanced” > “Printing” > “Google Cloud Print.”
- Follow the setup instructions.
Step 2: Install Google Cloud Print on Your Phone
Download Google Cloud Print from the app store on your Android or iPhone.
Step 3: Connect Your Phone to Google Cloud Print
- Open the Cloud Print app on your phone.
- Sign in with the same Google account as your Chromebook.
Step 4: Select a Document to Print
Open the document or photo you want to print on your phone.
Step 5: Choose Your Printer
In the print options, select the printer connected to your Chromebook.
Step 6: Print
- Confirm your settings and tap “Print.”
- Your document will print from the printer connected to your Chromebook.
Final Words
Now you know how to add a printer to a Chromebook! With this simple guide, you can connect, print, and troubleshoot issues easily. Enjoy hassle-free printing from your Chromebook today!
Note: Still Stuck? It might depend on the specific printer model you're using.